Set up a server profile
Start with the three required sections: Identity, Connectivity, and Gamemodes. After that, JNbot offers optional sections for extra profile settings. Add only what you need. You can change these settings later.
If the profile list already has your server, use that profile instead. To customize a ready-made profile, choose Clone to edit first.
1. Identity
Enter the server name. JNbot fills in a short name for you. You can leave the suggested values in place. Add an icon or choose a brand color if you want the profile to be easier to recognize.
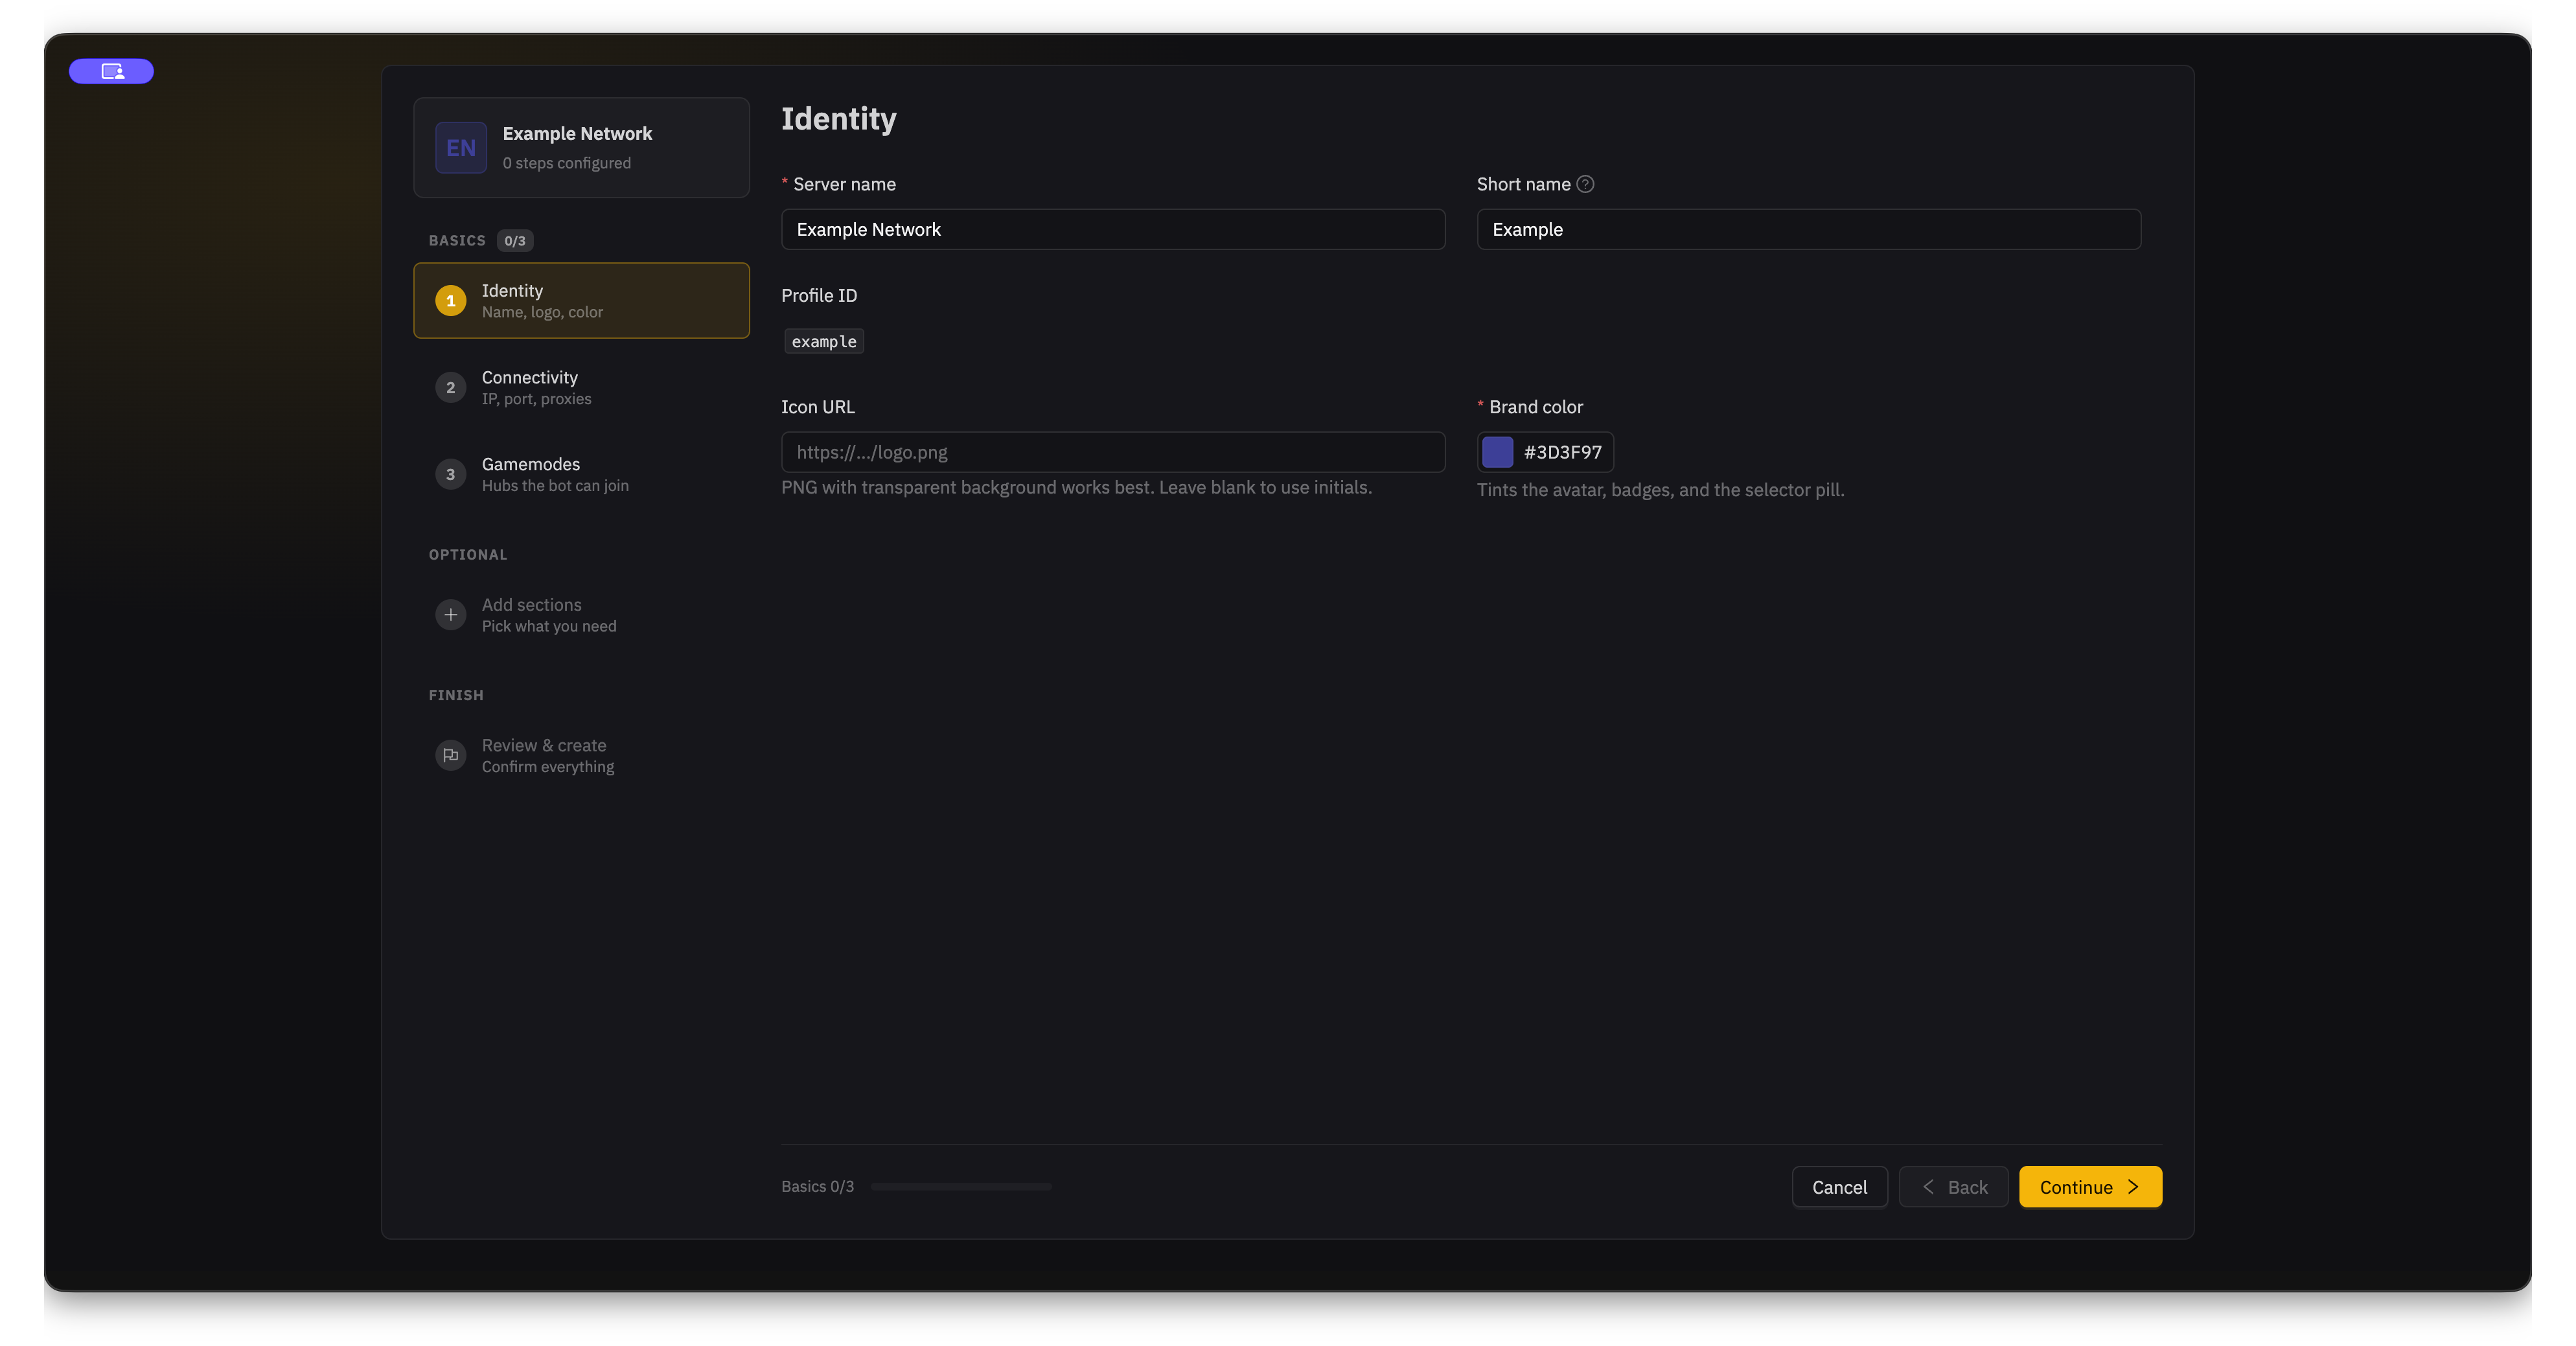
The profile ID is the internal key used by scripts and saved server data. JNbot creates it from the name. It must be unique and use lowercase letters, numbers, hyphens, or underscores. If you change it later, saved ranks and statistics that use the old ID do not move automatically.
2. Connectivity
Enter the server address, such as play.example.net. Leave the port at its default, usually 25565, unless your server gives you a different one. Additional server addresses are optional.
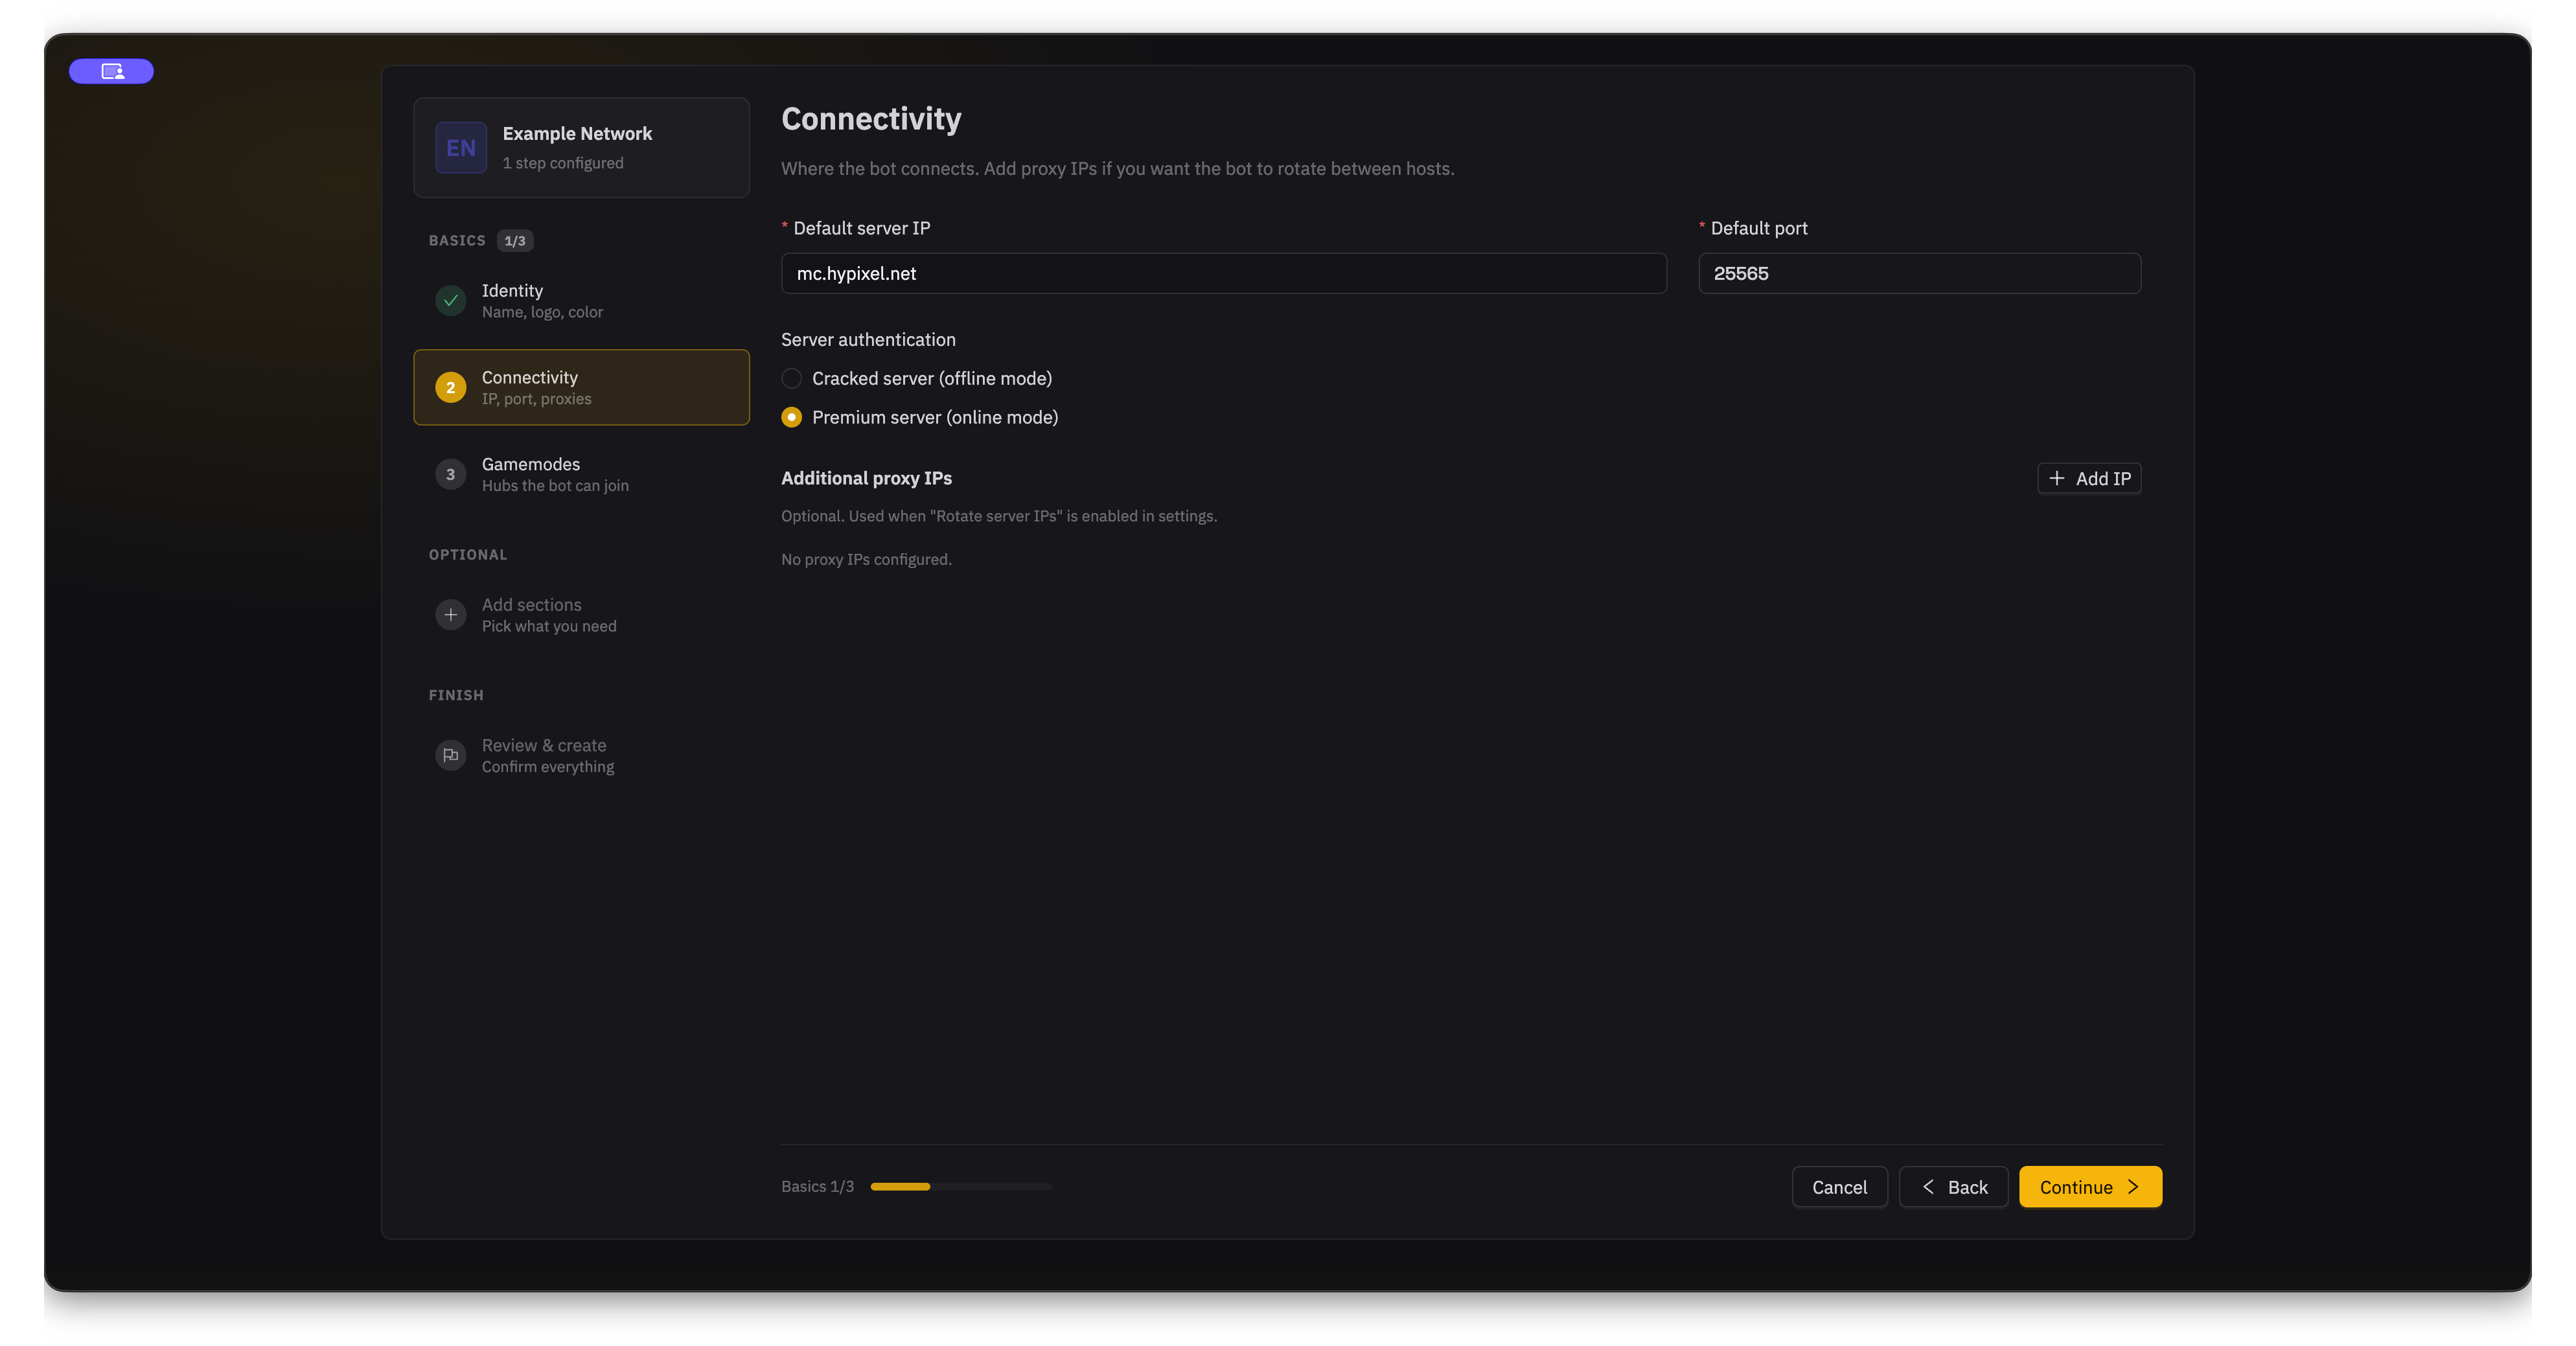
Choose Cracked server or Premium server to match the server you use. In this example, Hypixel uses premium authentication.
When Rotate server IPs is enabled in settings, JNbot cycles through the additional addresses as bots connect.
3. Gamemodes
Add at least one gamemode. Choose the one you use most as the default. If you are not sure about the other options, keep their suggested settings.
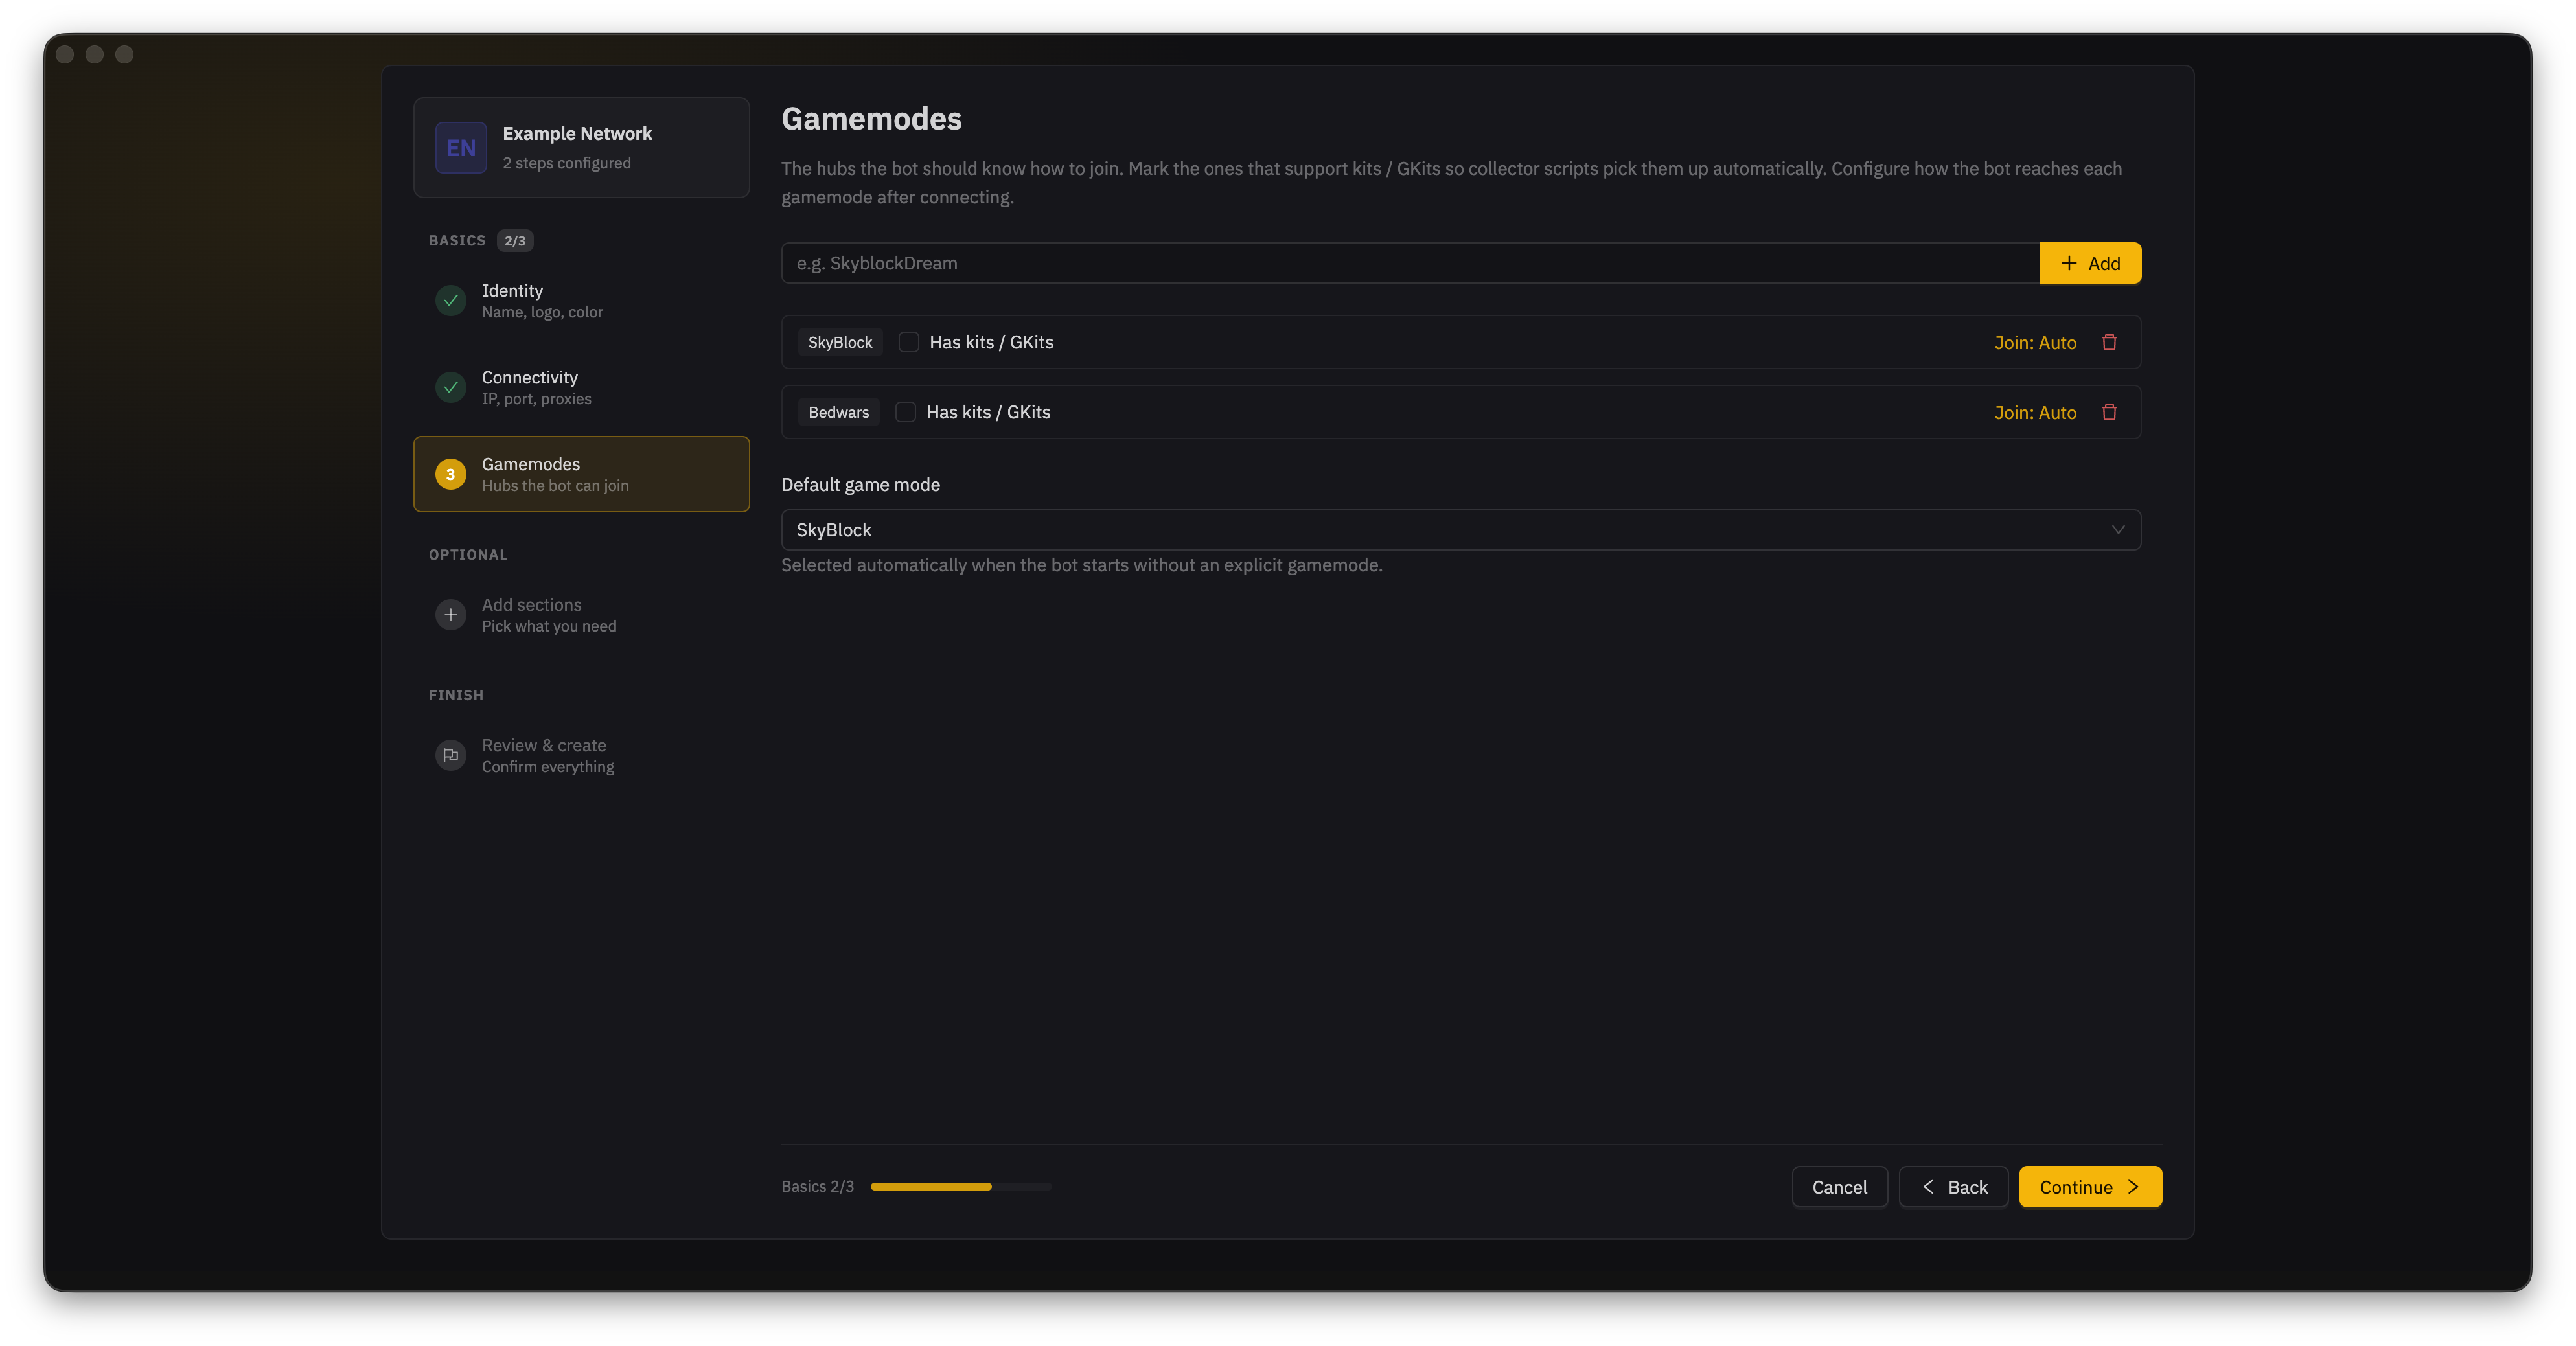
If a gamemode has GKits, mark it as kit-based so it appears in the Ranks & Kits section. Select Join: Auto to choose how JNbot enters the gamemode.
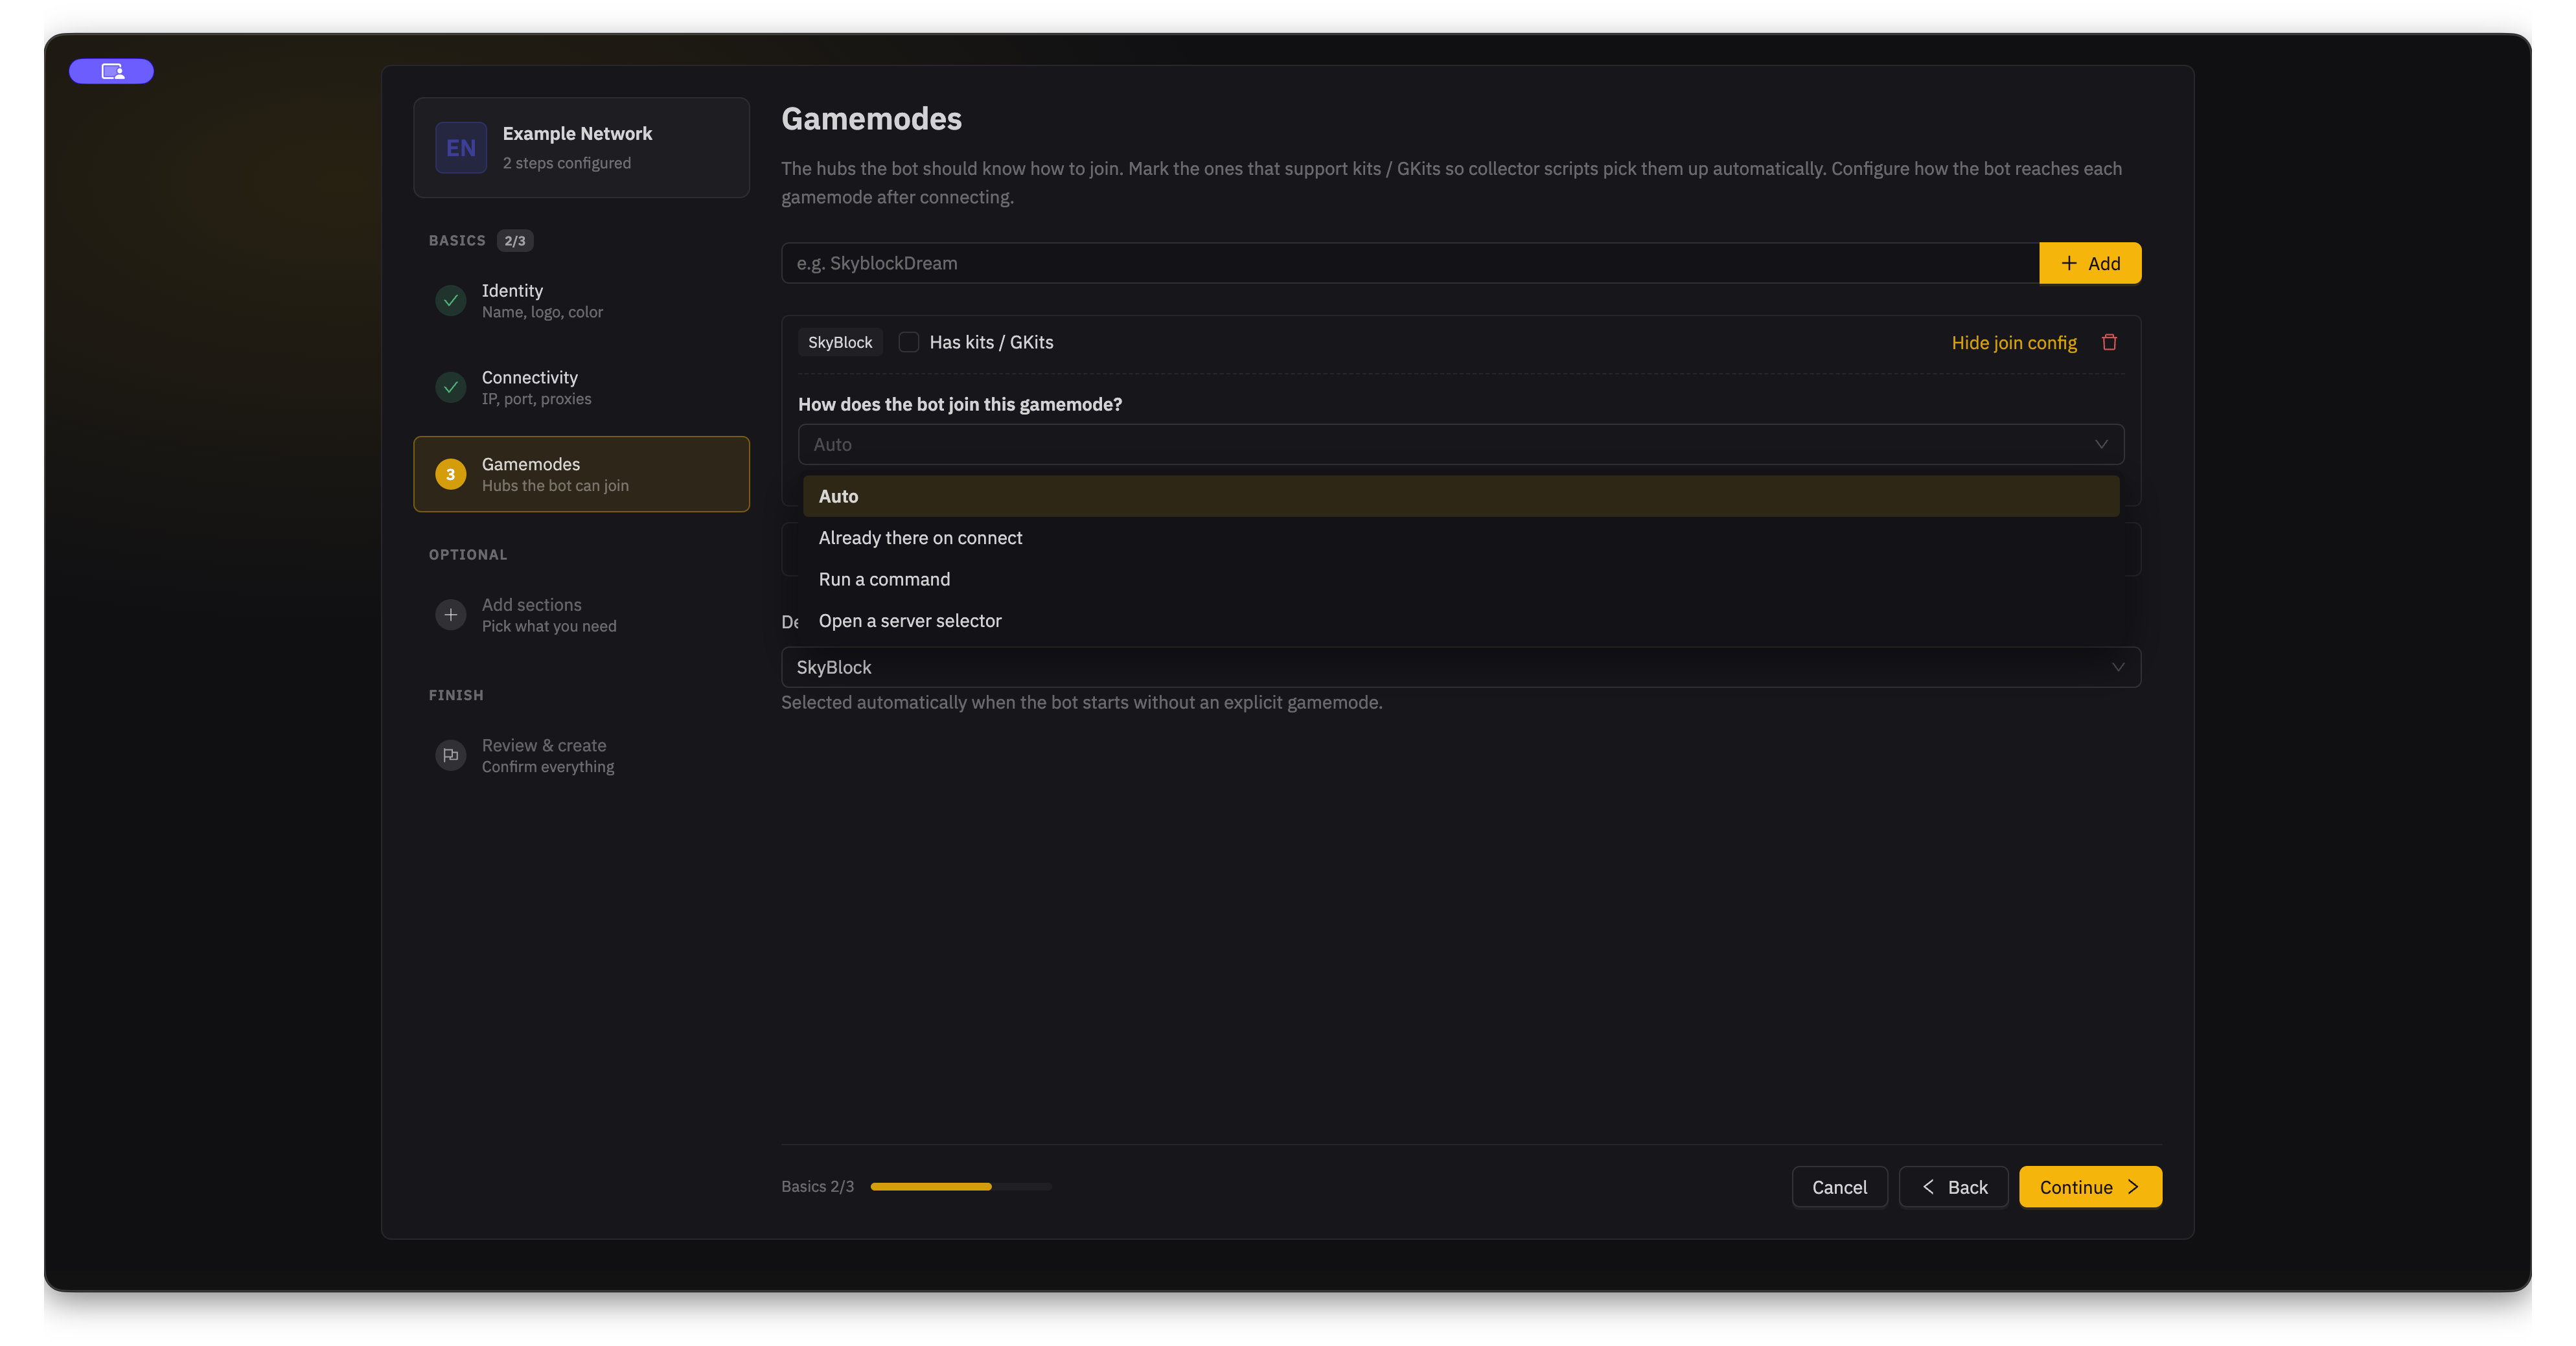
Auto sends a command first, then opens the server selector and looks for the gamemode by name if the command fails. Choose Already there on connect if the server routes bots to the right place automatically. Use Run a command or Open a server selector when you need to pick one method yourself. For custom navigation, see the Bot API guide.
Optional sections
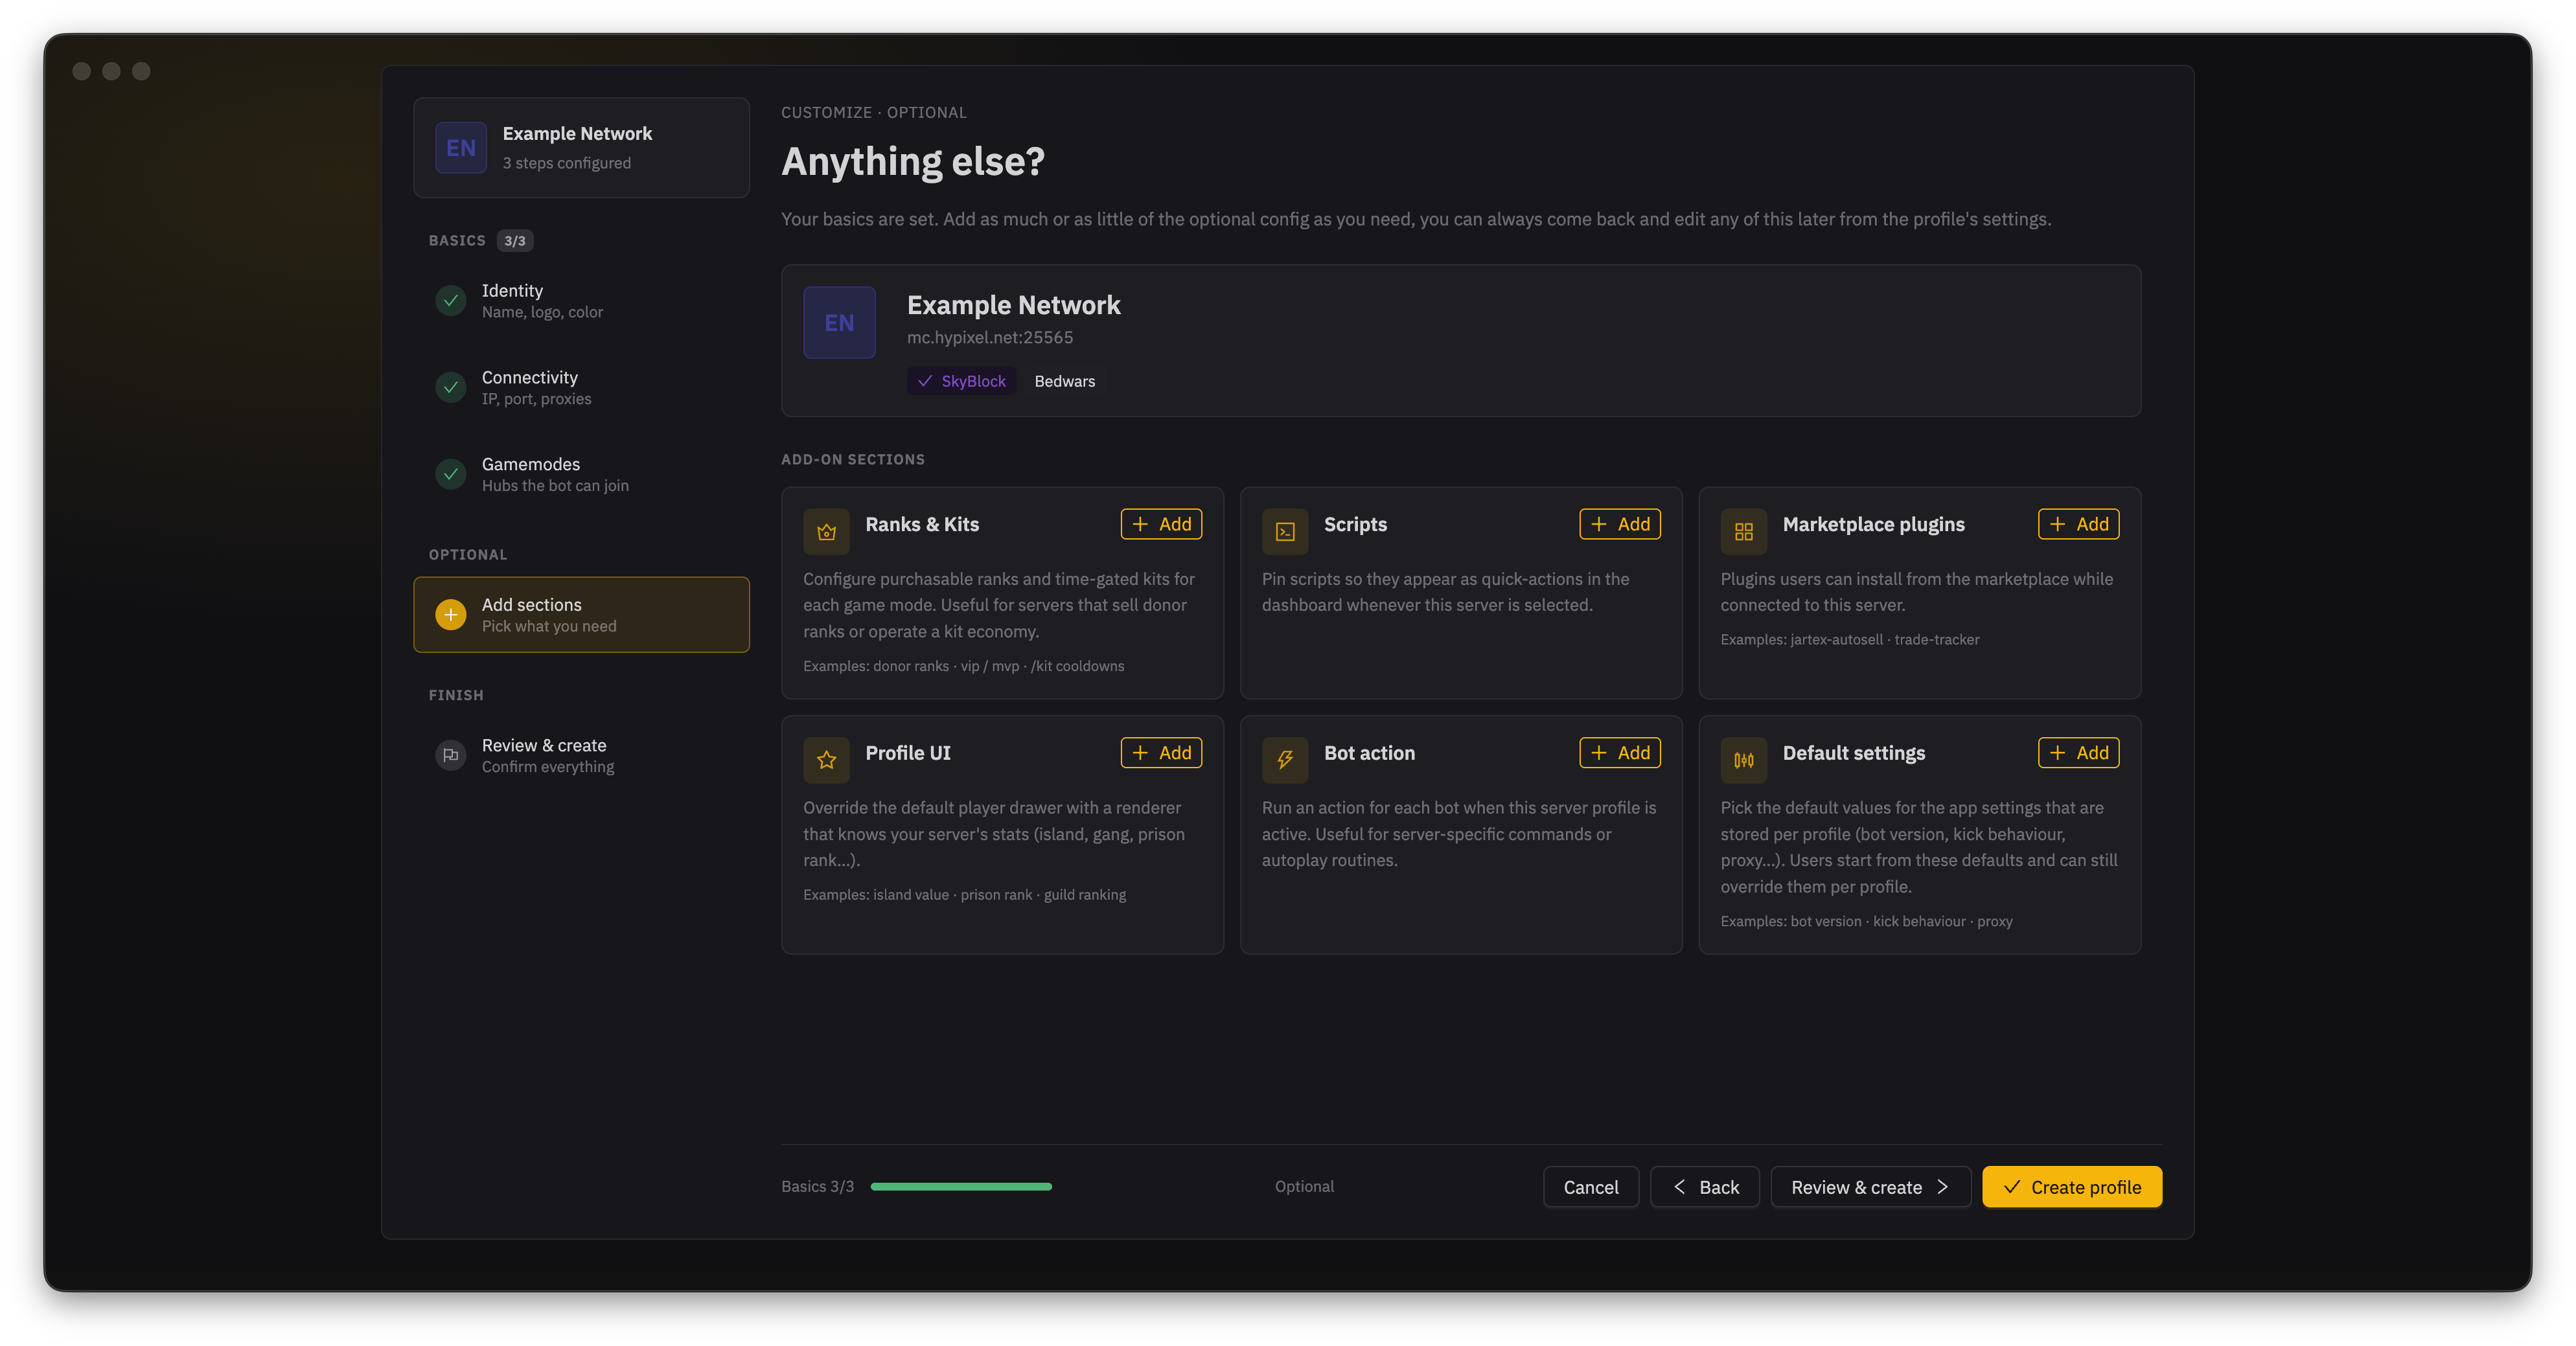
Select Add beside a section to include it in this profile. You can leave every section empty and finish the profile with the three required sections above.
Ranks & Kits
Add ranks and kits for each gamemode. Rank prices and colors appear in rank tools. Kit cooldowns help the collector track when a kit is ready. The section uses the gamemodes you marked as kit-based.
Scripts
Pin scripts here to show them as quick actions on the dashboard when this profile is active. This does not create or install a script. Add an existing local plugin or a published script, then arrange the shortcuts in the order you want.
Marketplace plugins
This section lists marketplace plugins that users can install while the profile is active. It does not create a plugin. To build one, start with the plugin overview.
Profile UI
Use a profile UI plugin to replace the built-in player details panel with one that understands your server's stats. See the Profile UI plugin guide for setup and development details.
Bot action
Run an action for each bot while this profile is active. This can handle profile-specific commands or startup routines. For custom actions, see the Bot API and Script API.
Default settings
Set starting values for app settings stored per profile, such as the bot version, kick behavior, or proxy. You can still change these values for the profile later.
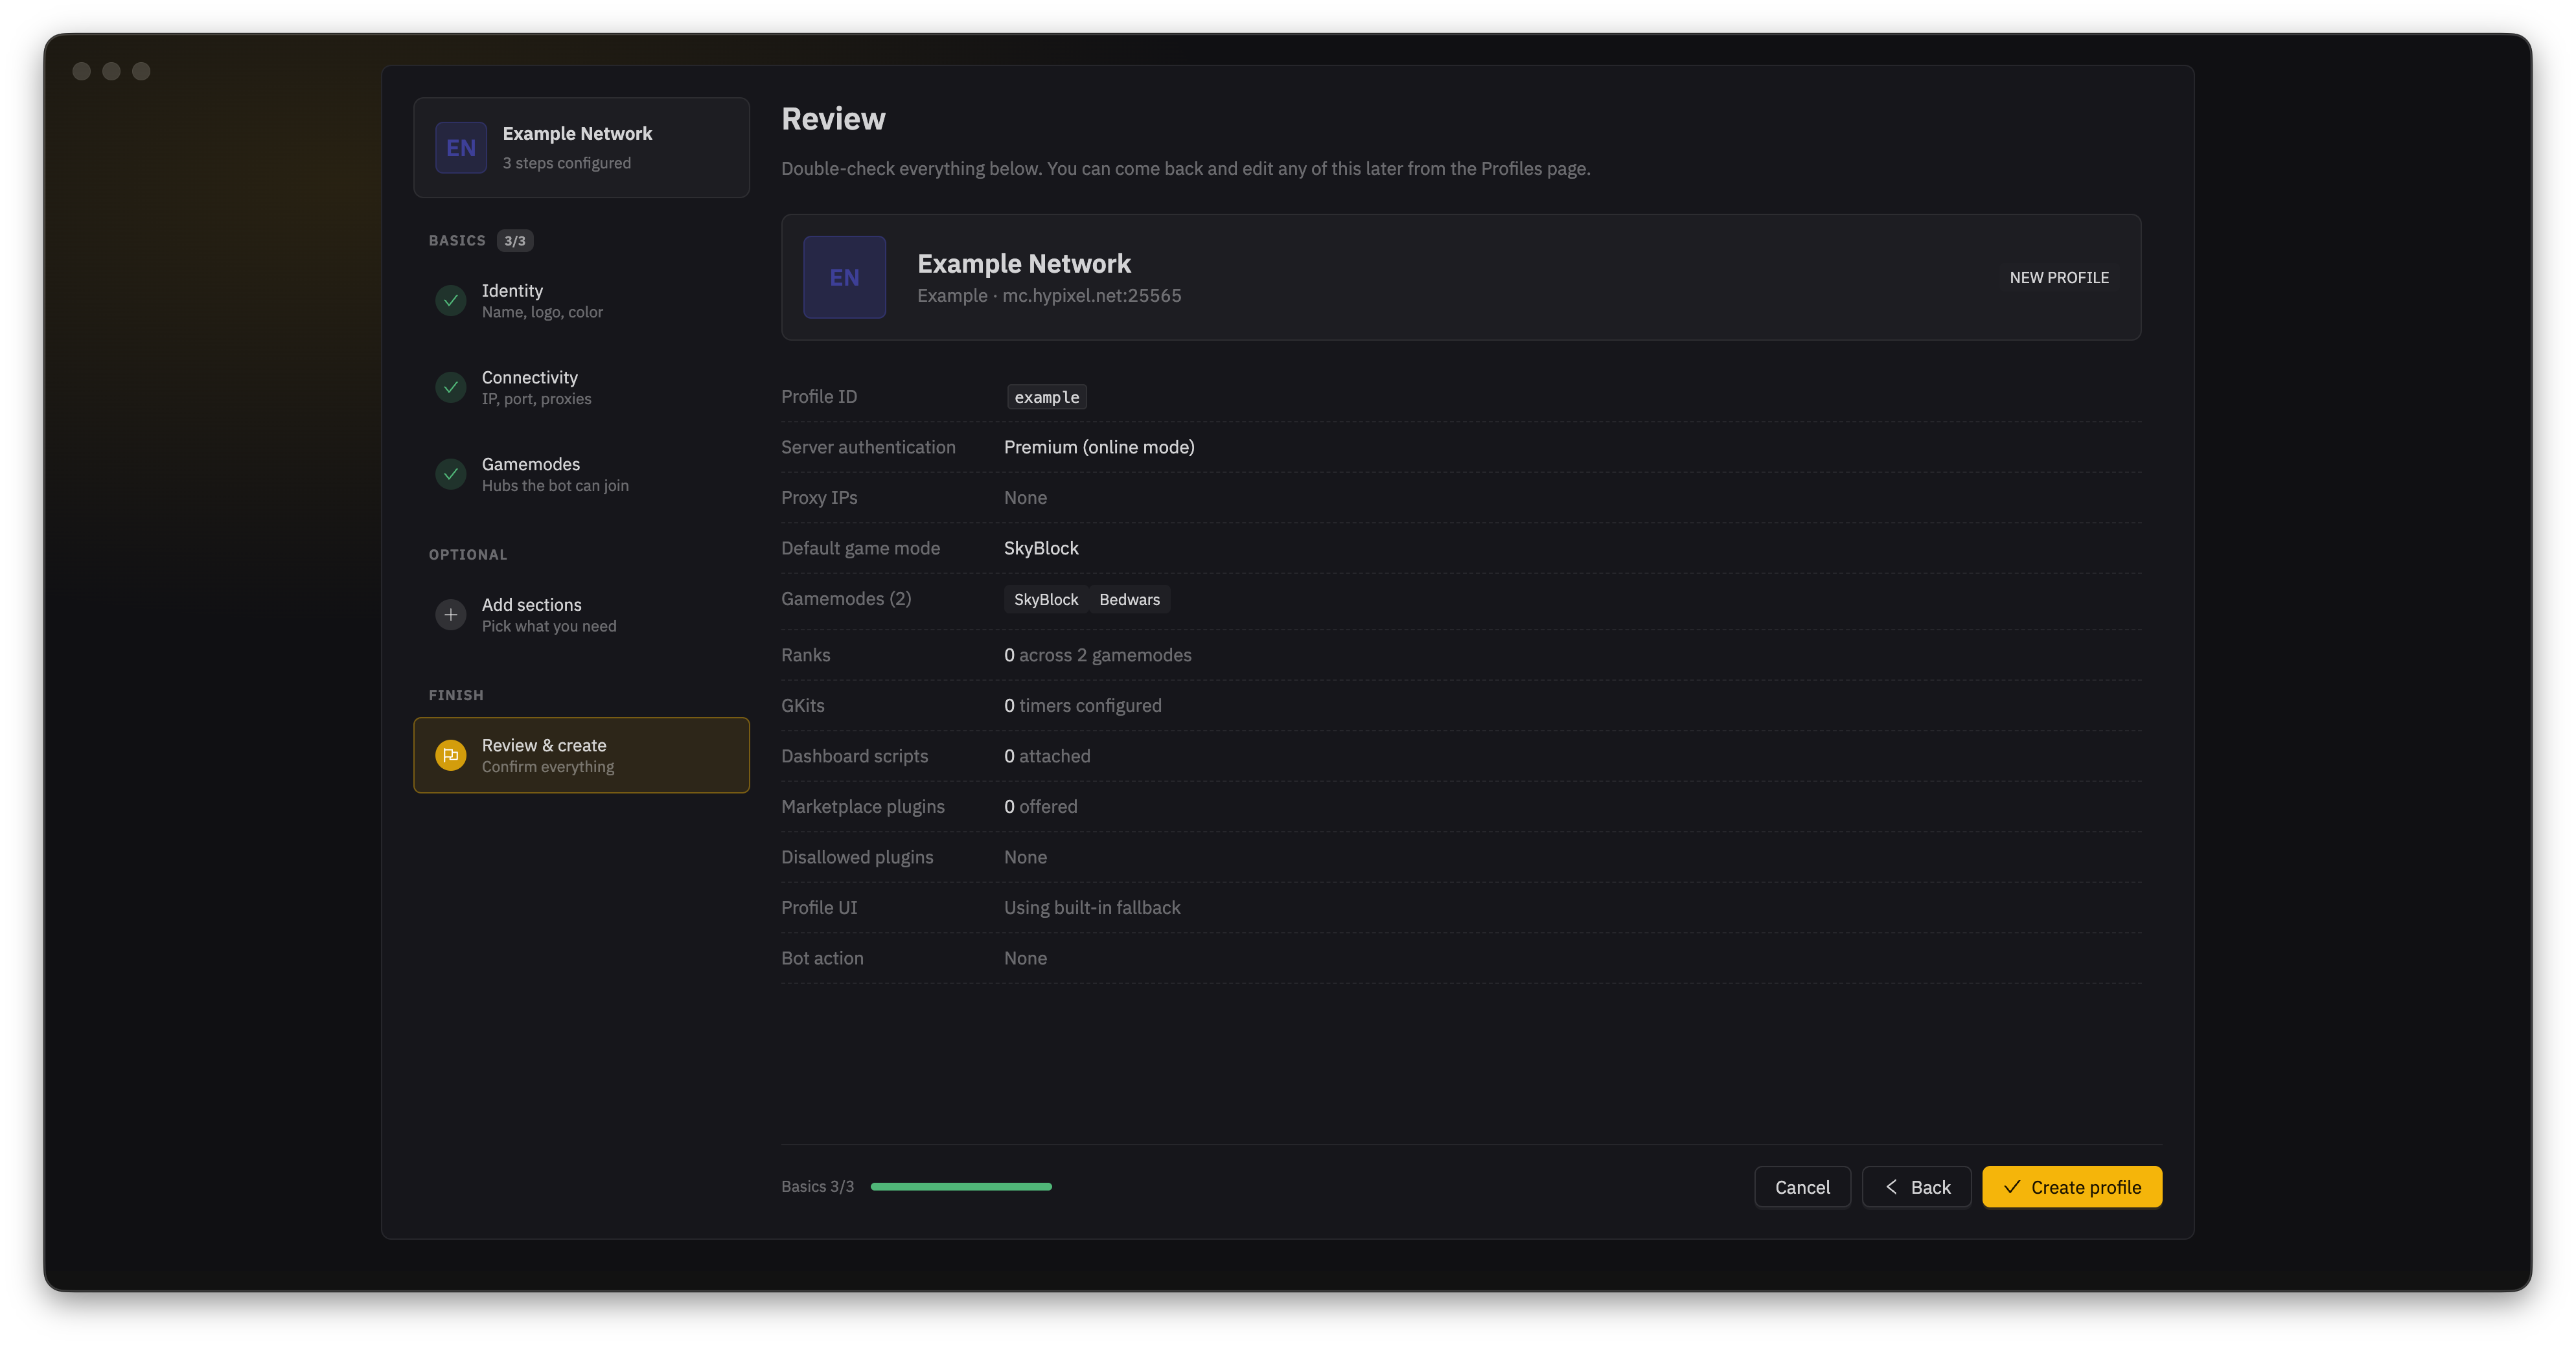
Review and create
Select Review & create to check the profile before saving. If a required detail is missing, JNbot shows what needs attention. Select Create profile when you are ready. When editing an existing profile, select Save changes.